*This post contains affiliate links. If you purchase a product, we'll make a commission at no extra cost to you!*
If you’re into homegrown goodness, you’ll want to hear all about how to sprout lentils in a jar for cheap!
Growing lentil sprouts in a jar is an easy process that only gets easier with practice.
There’s nothing more rewarding than a jar full of fruitful lentil sprouts that’ll keep you satisfied for many lunch breaks to come.
One of the best things about learning how to sprout lentils is that it’s straightforward.
Learn How To Sprout Lentils In A Jar!
1. Buy A Sprouting Jar
When learning how to sprout lentils, having a sprouting jar on hand is essential for a smooth and easy start.
Jars are easy to use, inexpensive, and are reusable for eternity(talk about a ‘bang for your buck’).
2. Scoop Your Lentils

After scooping the lentil spouts, you should pour approximately two cups of water into the sprouting jar to stimulate the growth process.
It doesn’t matter what kind of water you use, but keeping it purified can only add to the health of your sprouts.
4. Store & Sit

This is the stage where you’ll need to place your sprouting jar in a cabinet for at least twenty-four hours.
After the sprouts have soaked in the cool-dark place for a day, place them on the window seal so sunlight can nourish them.
5. Rinse & Repeat

You should rinse the lentils once per day.
After two days have past, you can typically start to see the lentils grow stems.
Leaves should appear by the third or fourth day of sprouting.
Soaking isn’t necessary after twenty-four hours, just rinse and drain.
6. Harvest!

After three days of rinsing, your lentil sprouts will be ready to harvest.
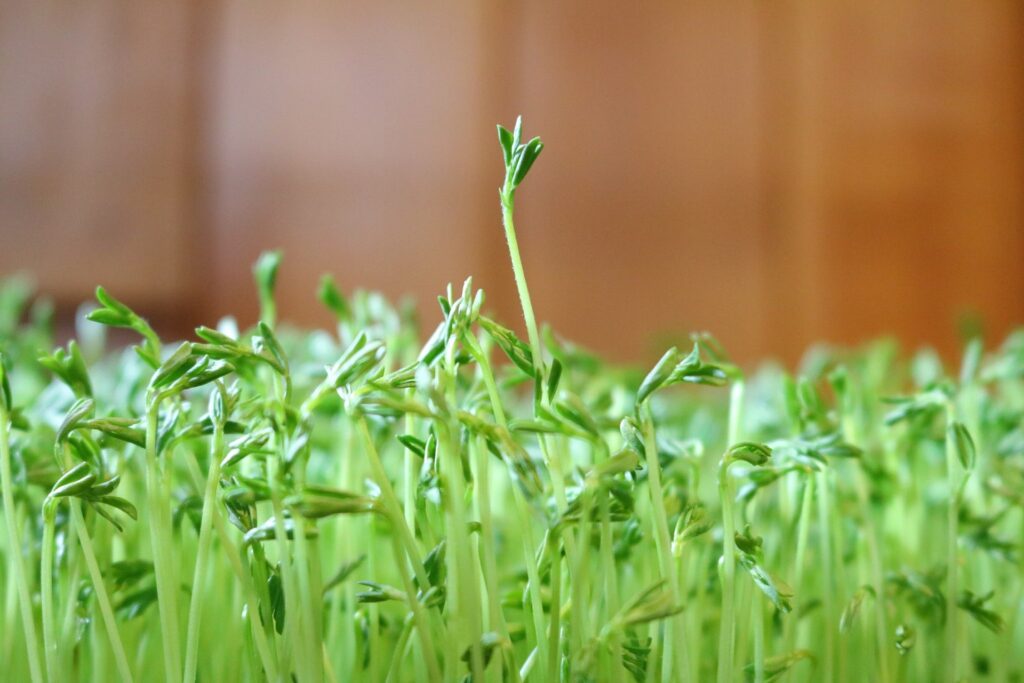
You’ll know lentil sprouts are ready to eat when they’ve grown long stems with green leaves at the end.
Those were six steps to learn how to sprout lentils in a jar quickly!
Sprouting is fun for the whole family and comes with many health benefits.
Once you get used to growing lentil sprouts, maybe mung beans can be next?


